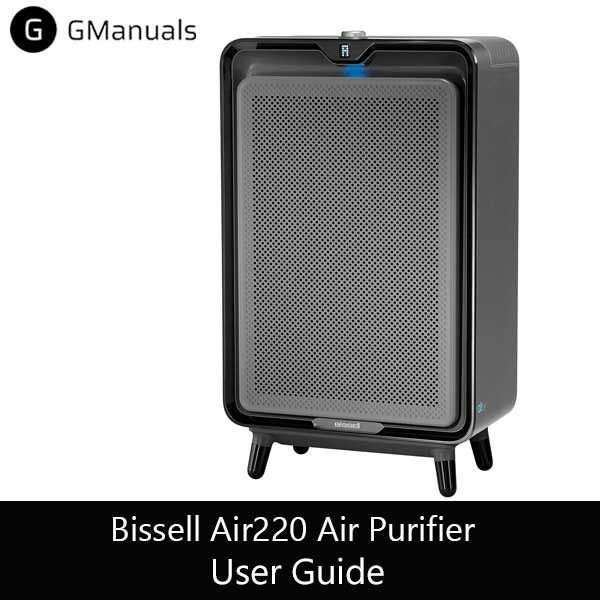
If you are looking for a reliable and effective air purifier for your home or office, you might want to consider the Bissell Air220 Air Purifier. This device is designed to capture up to 99.97% of airborne particles as small as 0.3 microns, such as dust, pollen, pet dander, smoke, and odors. It also features a 3-stage filtration system, a smart air quality sensor, a night mode, and a sleek design that blends in with any decor.
But how do you use and troubleshoot your Bissell Air220 Air Purifier? In this blog post, we will provide you with a user manual that covers everything you need to know about your device, from setting it up to cleaning it. We will also give you some tips on how to solve common problems that you might encounter with your air purifier.
How to Set Up Your Bissell Air220 Air Purifier
Before you start using your Bissell Air220 Air Purifier, you need to set it up properly. Here are the steps to follow:
- Unpack your air purifier from the box and remove all the packaging materials.
- Locate the filter door on the back of the unit and open it by pressing the release button.
- Remove the plastic wrap from the filters and insert them back into the unit. Make sure they are aligned correctly and securely in place.
- Close the filter door and plug the power cord into an outlet.
- Turn on your air purifier by pressing the power button on the top of the unit.
- Select your desired fan speed by pressing the fan button. You can choose from low, medium, high, or auto mode.
- If you want to use the night mode, press the moon button. This will dim the lights and reduce the noise level of your air purifier.
- If you want to use the timer function, press the timer button and select how long you want your air purifier to run. You can choose from 2, 4, 8, or 12 hours.
You have successfully set up your Bissell Air220 Air Purifier! You can now enjoy cleaner and fresher air in your space.
How to Clean Your Bissell Air220 Air Purifier
To maintain the performance and longevity of your Bissell Air220 Air Purifier, you need to clean it regularly. Here are the steps to follow:
- Turn off your air purifier and unplug it from the outlet.
- Wipe the exterior of the unit with a soft cloth or a damp cloth with mild soap. Do not use abrasive cleaners or solvents that might damage the surface.
- Open the filter door and remove the filters from the unit.
- Check the condition of the filters and replace them if needed. The pre-filter should be replaced every 3 months, while the HEPA filter and carbon filter should be replaced every 6 months.
- To clean the pre-filter, gently shake off any dust or debris and rinse it under cold water. Let it dry completely before reinstalling it.
- To clean the HEPA filter and carbon filter, gently tap them on a hard surface to remove any dust or debris. Do not wash or rinse them with water or any other liquid.
- Reinsert the filters into the unit and close the filter door.
- Plug in your air purifier and turn it on.
You have successfully cleaned your Bissell Air220 Air Purifier! You can now enjoy cleaner and fresher air in your space.
How to Troubleshoot Your Bissell Air220 Air Purifier
Sometimes, you might encounter some problems with your Bissell Air220 Air Purifier that prevent it from working properly. Here are some common issues and how to fix them:
- The air purifier does not turn on: Check if the power cord is plugged in securely and if there is power in the outlet. If not, try another outlet or contact an electrician. If there is power in the outlet but the air purifier still does not turn on, contact Bissell customer service for assistance.
- The air purifier makes loud or unusual noises: Check if there are any foreign objects blocking the air inlet or outlet of the unit. If so, remove them carefully and restart your air purifier. If there are no foreign objects but the noise persists, contact Bissell customer service for assistance.
- The air quality indicator does not change color: Check if your air purifier is in auto mode or night mode. If so, switch to manual mode and see if the indicator changes color according to the air quality level in your space. If not, contact Bissell customer service for assistance.
- The filter replacement indicator is on: Check if your filters need to be replaced. If so, follow the steps above to replace them with new ones. If not, reset the indicator by pressing and holding the filter button for 3 seconds.
If you have any other questions or concerns about your Bissell Air220 Air Purifier, you can refer to the user manual that came with your device or visit the Bissell website for more information.
Conclusion
The Bissell air220 air purifier is a great device that can help you breathe easier and enjoy cleaner air in your home. It has a 3-stage filtration system that captures 99.97% of airborne particles and a smart sensor that automatically adjusts the fan speed according to the air quality in your room. It also has a sleek and modern design that blends well with any decor.
In this blog post, we have provided you with a comprehensive user guide for the Bissell air220 air purifier, based on the official user manual that you can download here. We have also shared some tips and tricks on how to get the most out of your air purifier. If you want to read another product, you can go to air purifier manual.
Download Bissell Air220 Air Purifier Manual: How to Use and Troubleshoot
| Brand | Bissell |
| Model | Air220 |
| Category |
Air Purifier |
| File Size | 1.48 Mb |
| Pages | 12 pages |
| Language | English |
| 431 views | |
SAVE THIS FOR YOUR RECORDS